My Talking Angela 2 Guide - Unleash you inner stylist with our top Hair Salon tips
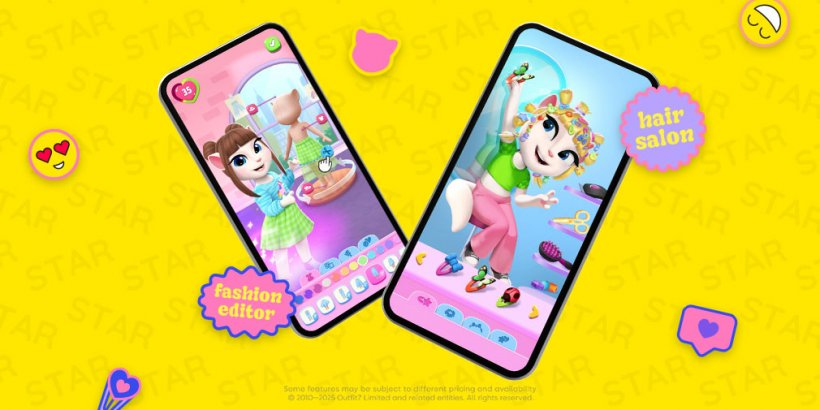
Fans of the Fashion Editor in My Talking Angela 2 are going to love the brand-new Hair Salon.
Until recently you’ve only been able to choose from different pre-set hairstyles, but that’s set to change. Now, you can design, wash, dry, and cut Talking Angela’s locks before colouring and accessorising them into any fabulous style of your choosing.
So, here’s a step-by-step guide to every feature of My Talking Angela 2’s Hair Salon.
Note: In some territories, the feature may be subject to a purchase.
1
Get Talking Angela booked in for her appointment
To get to the Hair Salon just tap the box of hair accessories in Talking Angela’s Bedroom. This item is located next to her feet with a picture of a comb on its exterior. You will find a hairdryer and brush located inside.
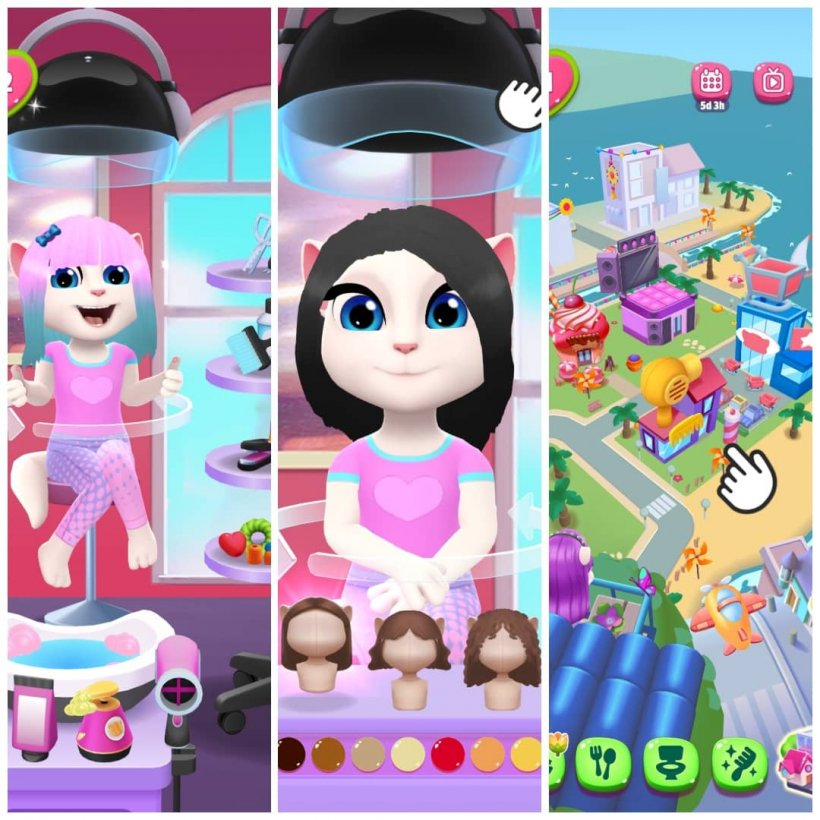
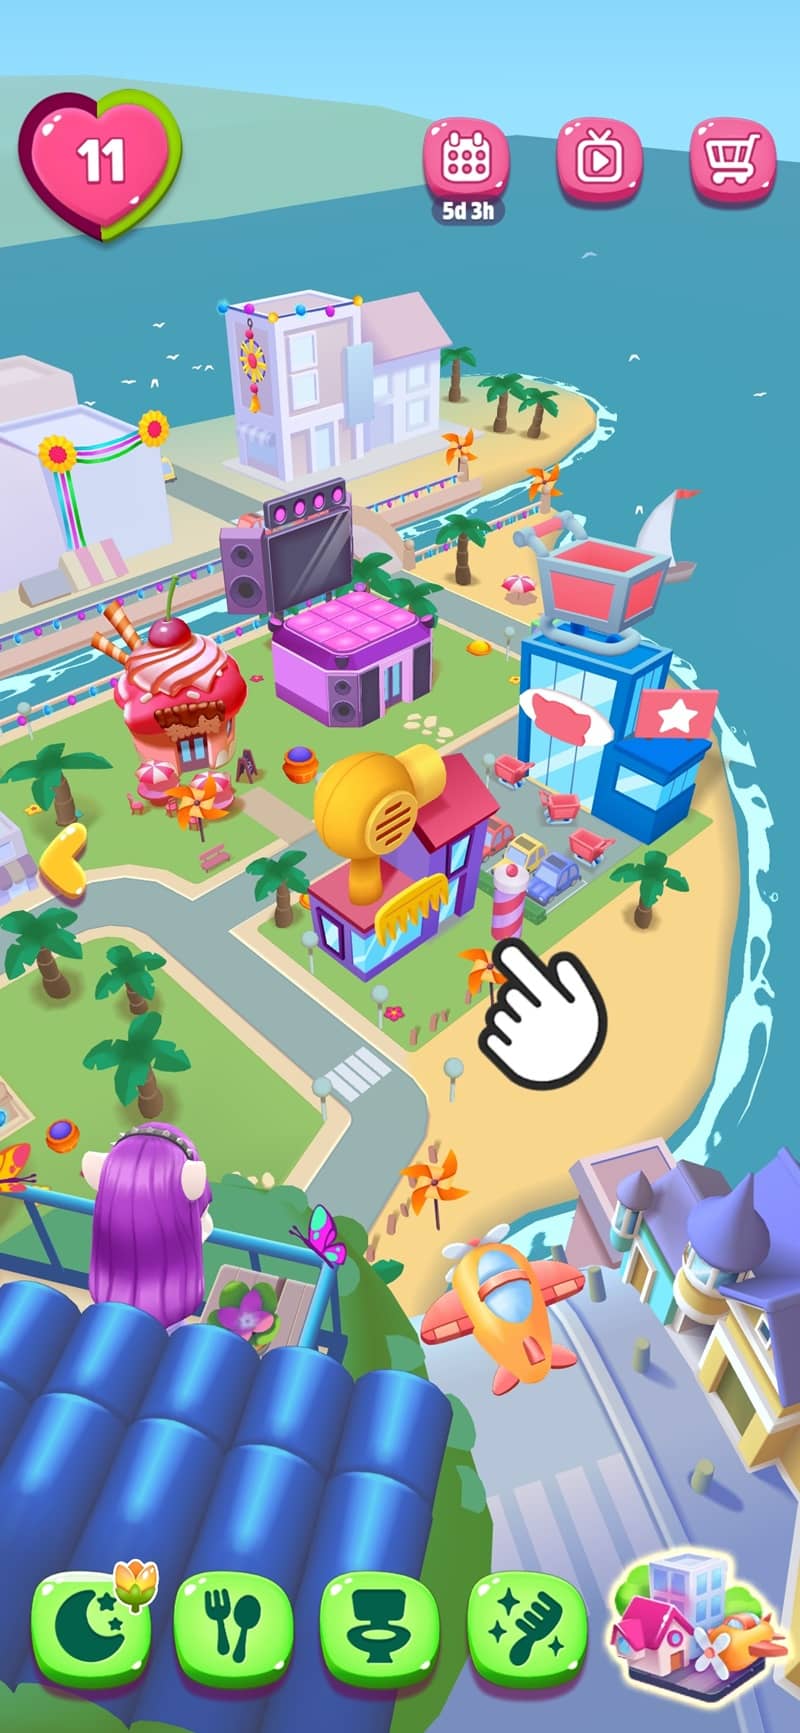
If the box is absent, then step onto the balcony and look over the city by swiping or tapping the arrow on the right-hand side of the screen; it’s the building with a barbers pole at the front and a huge blow dryer on the roof; you can’t miss it. Just tap to enter.
A third option comes via Angela’s glam station. Tap the hairbrush icon, then tap on the styrofoam head. Finally, tap on the box of hair-styling accessories in front of the mirror and you’ll be on your way.
2
Choose a Base Style and Colour
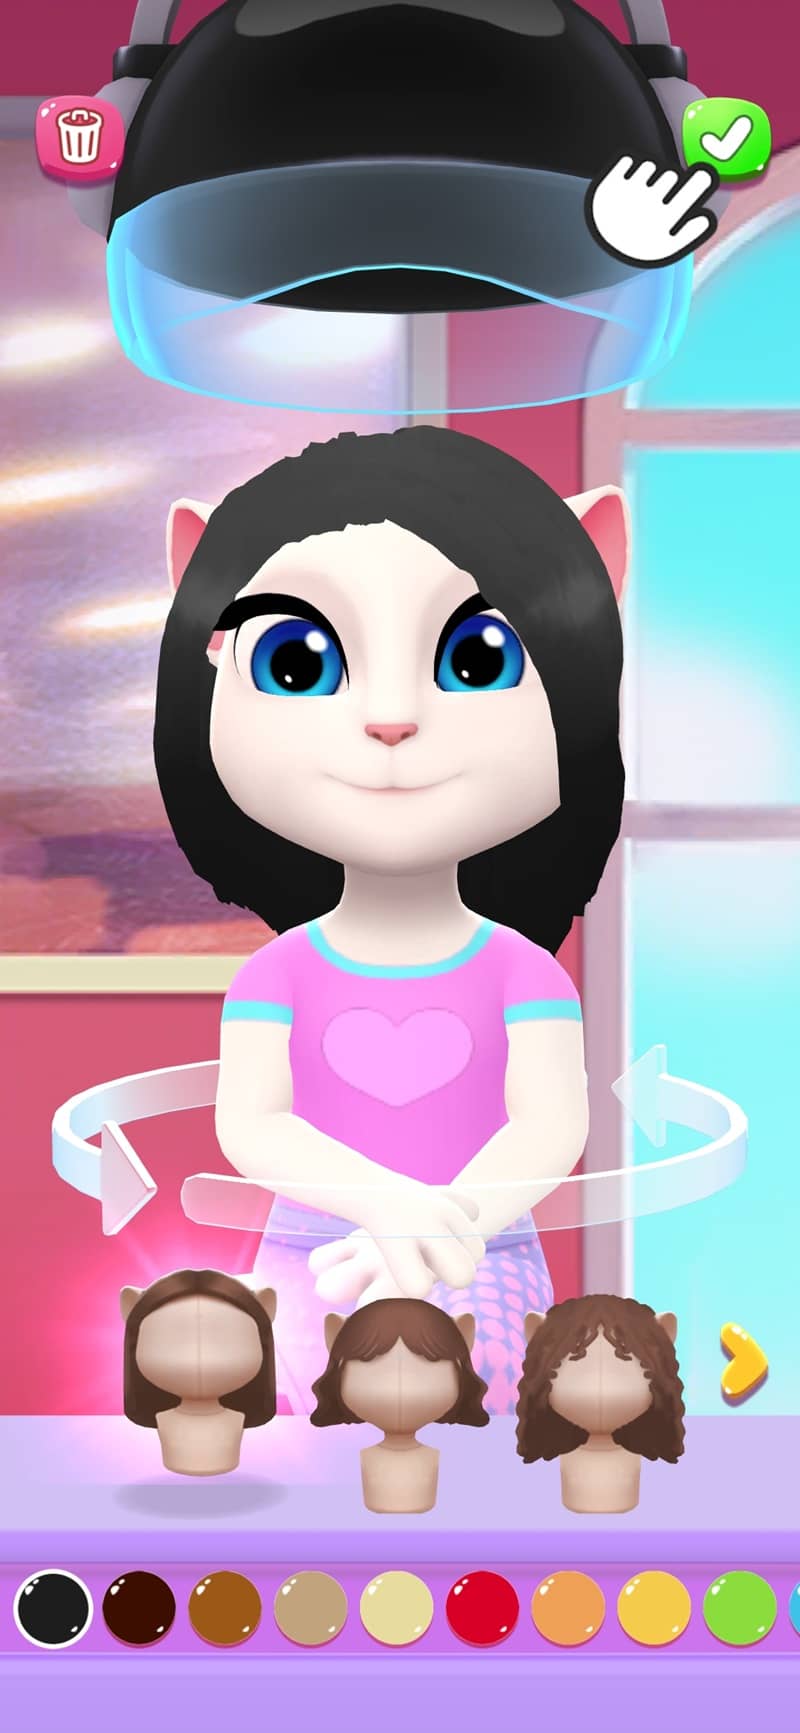
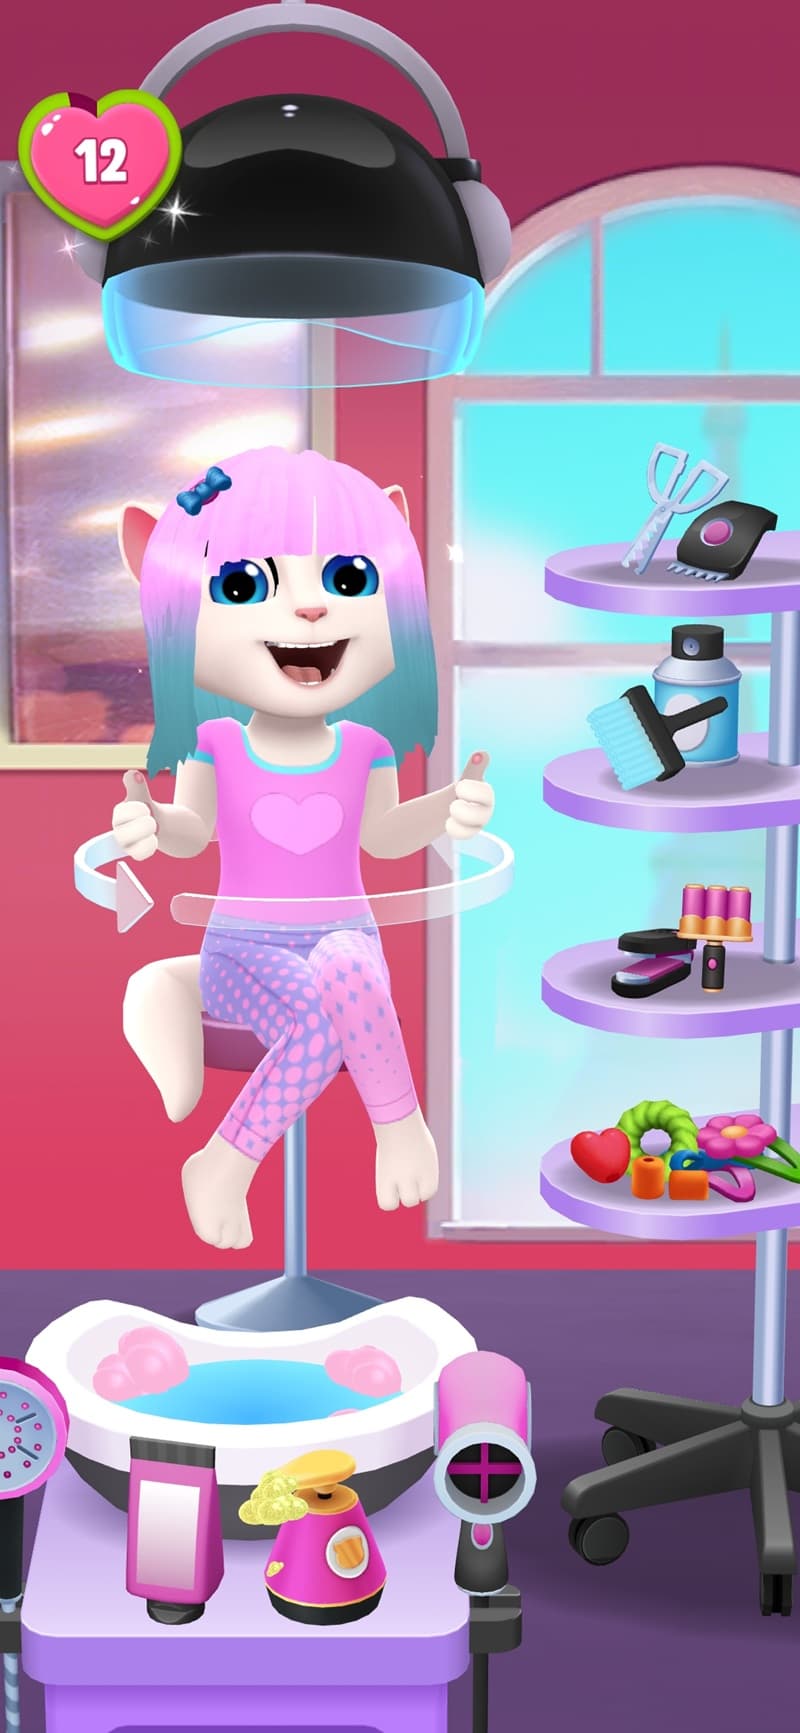
With Angela now ready for her makeover you’ll need to pick a hair style and colour. This is done by swiping, or using the arrows to navigate through various options. If you want a 360° view of your work then move your finger left and right where the looping arrow is located around Angela; this will rotate her stool and give you a better view from every angle.
Remember, at this point you’re choosing the foundation on which you’ll build your new look, so don’t worry if it’s a little plain to start with, you’ve got a whole range of tools to unleash your creativity.
3
Wash and Blow Dry

Just like at a real salon it’s best to wash and dry your hair before cutting and styling. Tap on the sink to move Angela into position to wash her hair. Then select the shower head by tapping, and move your finger over Angela’s hair to wet it. The shampoo and conditioner work in the same fashion, simply move your finger over Angela’s hair to apply them.
After you’ve finished lathering up and rinsing, you’ll move on to the hairdryer by tapping the green check mark located in the top right hand corner of the screen. Now you’re ready to begin cutting.
4
Cut, Shape, and Style
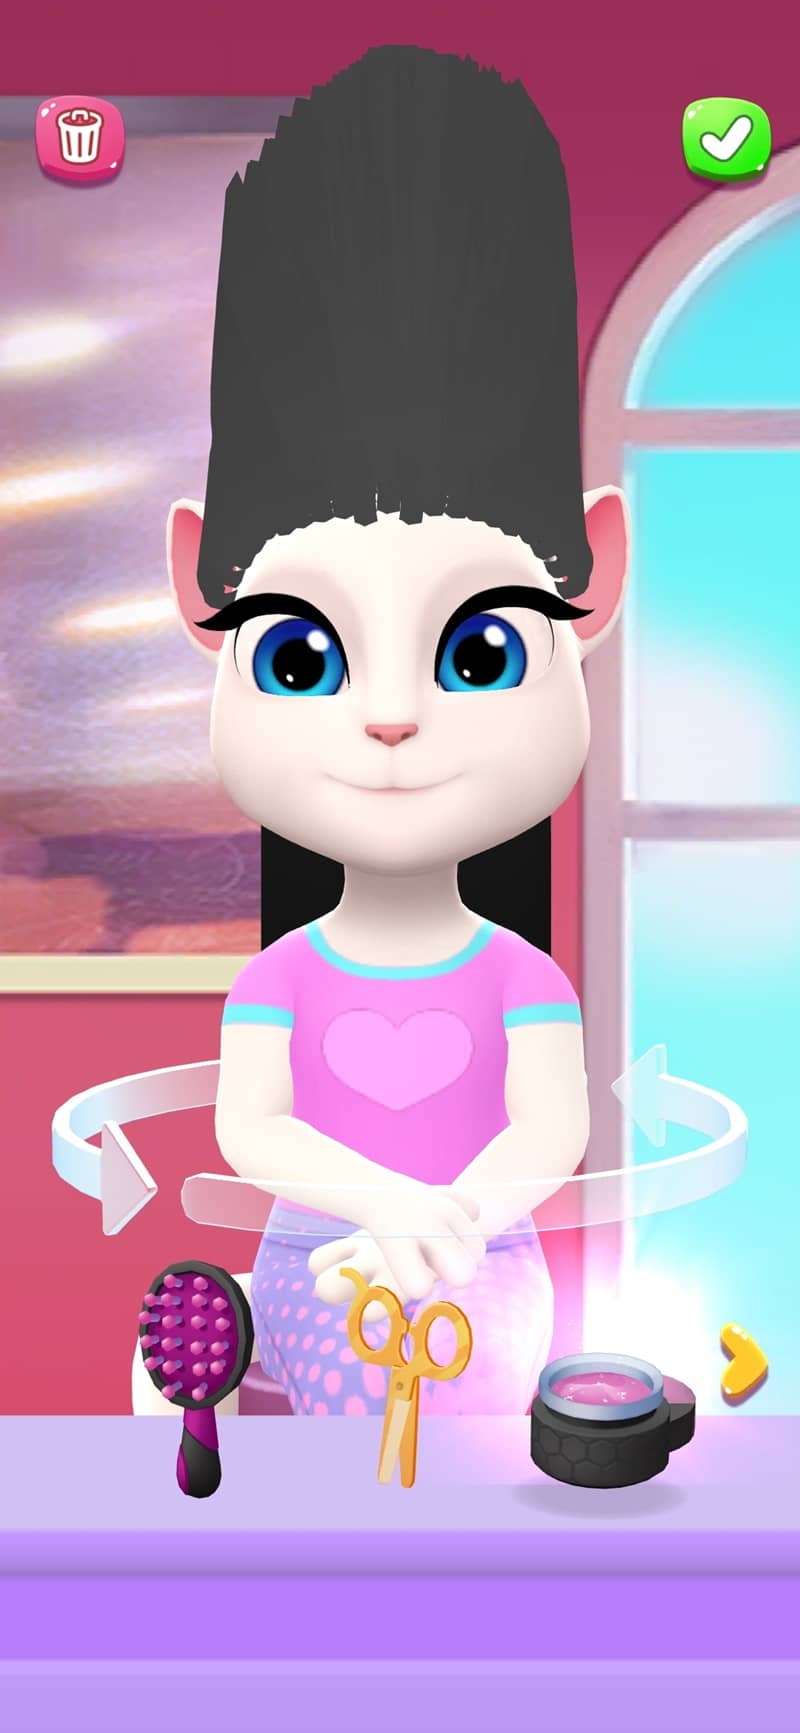
Next to Angela you’ll find a cart where scissors and clippers are kept. Simply tap on them to get started.
You’ll find at your disposal a Hairbrush which you can use to shape Angela’s hair. You can also use it to remove any styling gel you have applied.
Next up are the Gold Scissors: these will cut in sharp, straight, precise lines.
Then there’s Styling Gel: this item provides a strong hold, which gives you fuller control over the shape and direction of Angela’s hair.
Next up are the Clippers: these produce a similar straight cutting effect to the gold scissors and are used for the tips of the hair. If you want Angela’s locks shorter, or to remove them completely, then apply the clippers close to the roots.
If you get a little over zealous with the clippers then don’t fret; there is always the Hair Potion: a useful tool for those who want Angela’s hair a little longer. To use it, select the potion and hold your finger on your Angela’s hair to make it grow.
The Comb works the same way as the brush, but offers more precision i.e. it moves one strand at a time.Last up there are the Silver Scissors, for texturing. These will give her hair softer, more natural lines.
5
Add Some Color
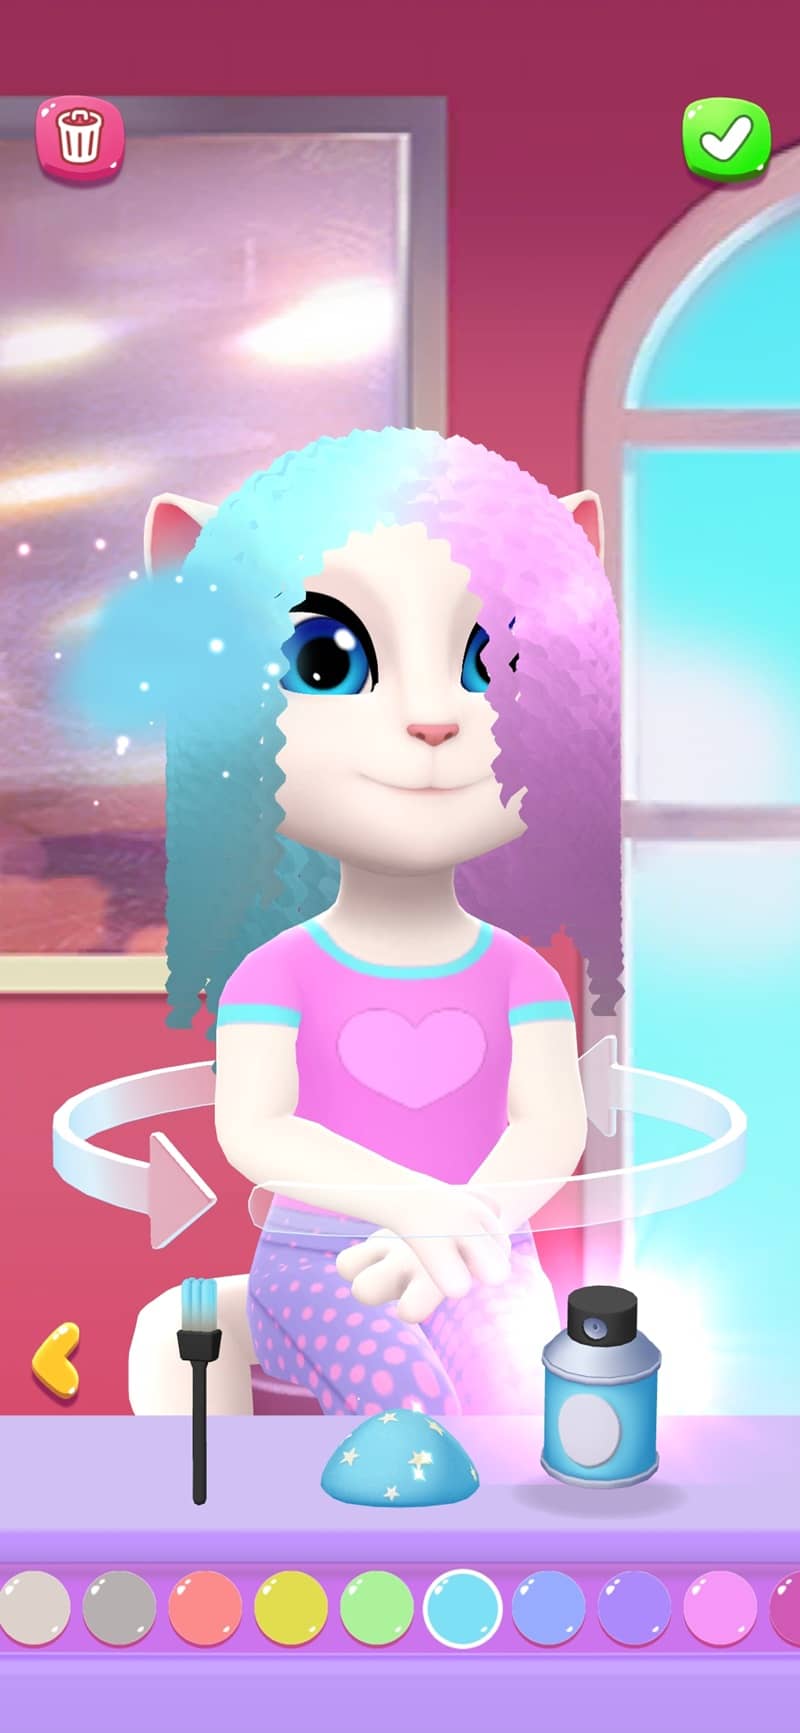
The second shelf holds the new colour palette. Just tap the can and colour brush to add a vibrant look to Angela’s hair. There are plenty of tools to choose from.
The Colour Brush: this broad, flat brush will allow you to apply bold, broad strokes of colour.
The Ombre Effect: this is the perfect tool for adding colour gradients. Use your finger to set how high you want to position each gradient. You can go for a simple two-tone, or you can keep adding to your design, with each new colour layered over the last.
The Splotch Brush: use this brush to add playful splotches of colour.
The Detail Brush: for when you want to add some precise colour detail. You can add narrow stripes or colour just along the tips or fringe.
The Glitters Tool: this tool will add twinkling coloured stars to Talking Angela’s hair.
Last up, The Colour Spray: add lots of colour at once without worrying about precise or sharp edges. It can also be used for colour gradients where you don’t just want the horizontal gradients you get with the Hair Colour Wax.
Remember, each time you use a colouring tool you can select from any of the varied choices on
the bottom bar - swipe left and right to see them all.
6
Straighten and Curl
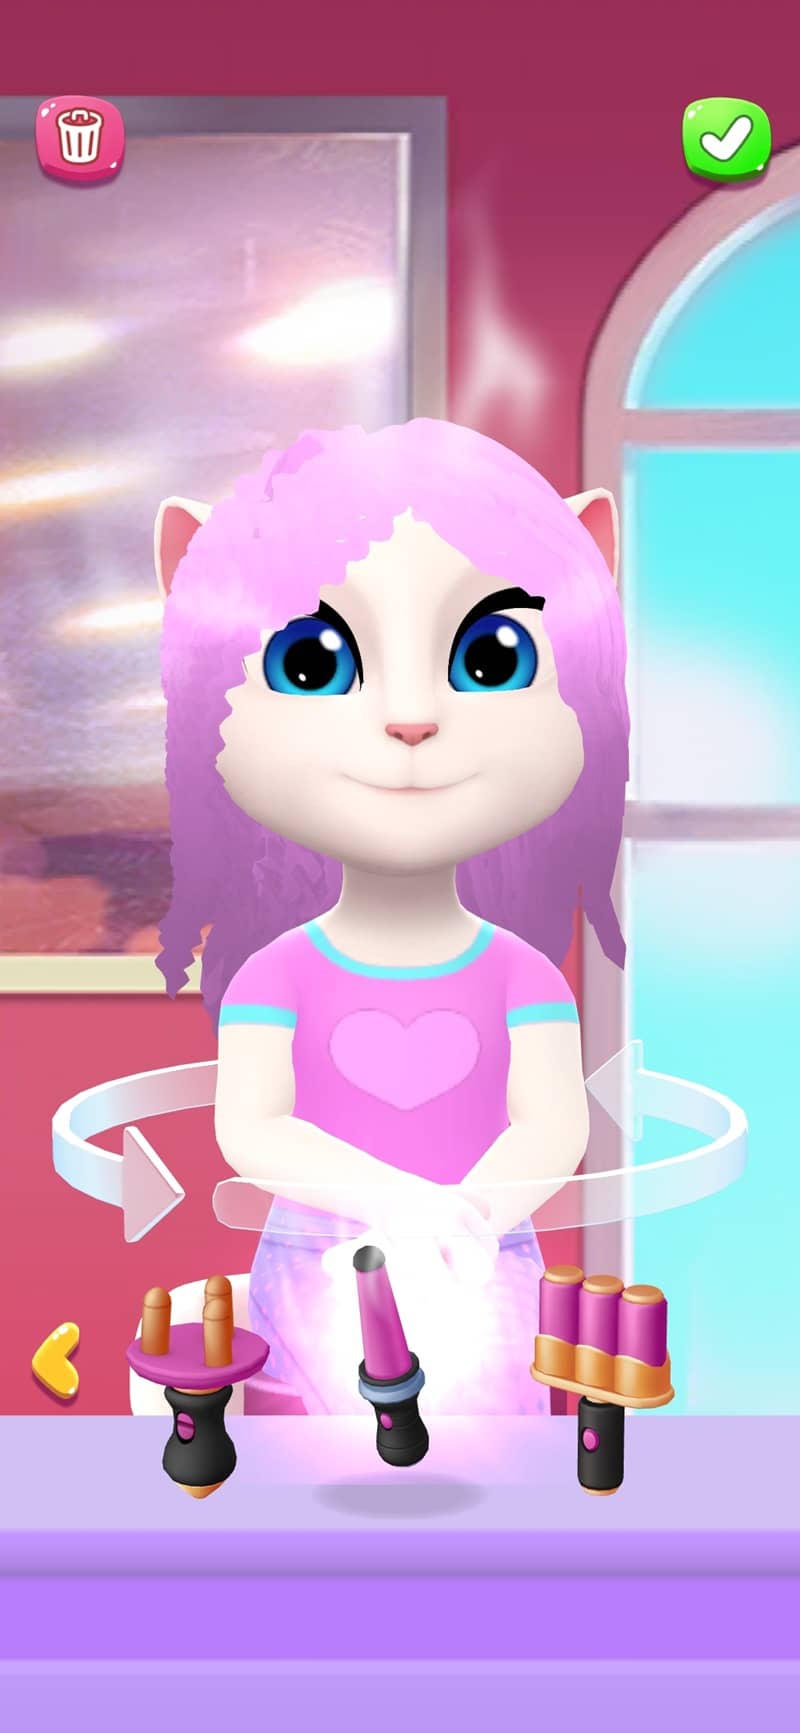
The third shelf contains a Hair Straightener and Waver. The former is used for a super-straight, smooth, flat style. It’s great if you want to create a bold, sharp, clean look. The latter is for looser free flowing waves.
Then there is the Curling Wand: this tool puts tight, bouncy curls into Angela’s hair.
Then there’s the Braider: simply tap or drag your finger across any strand and watch it instantly transform into a beautifully crafted braid.
7
Add Accessories
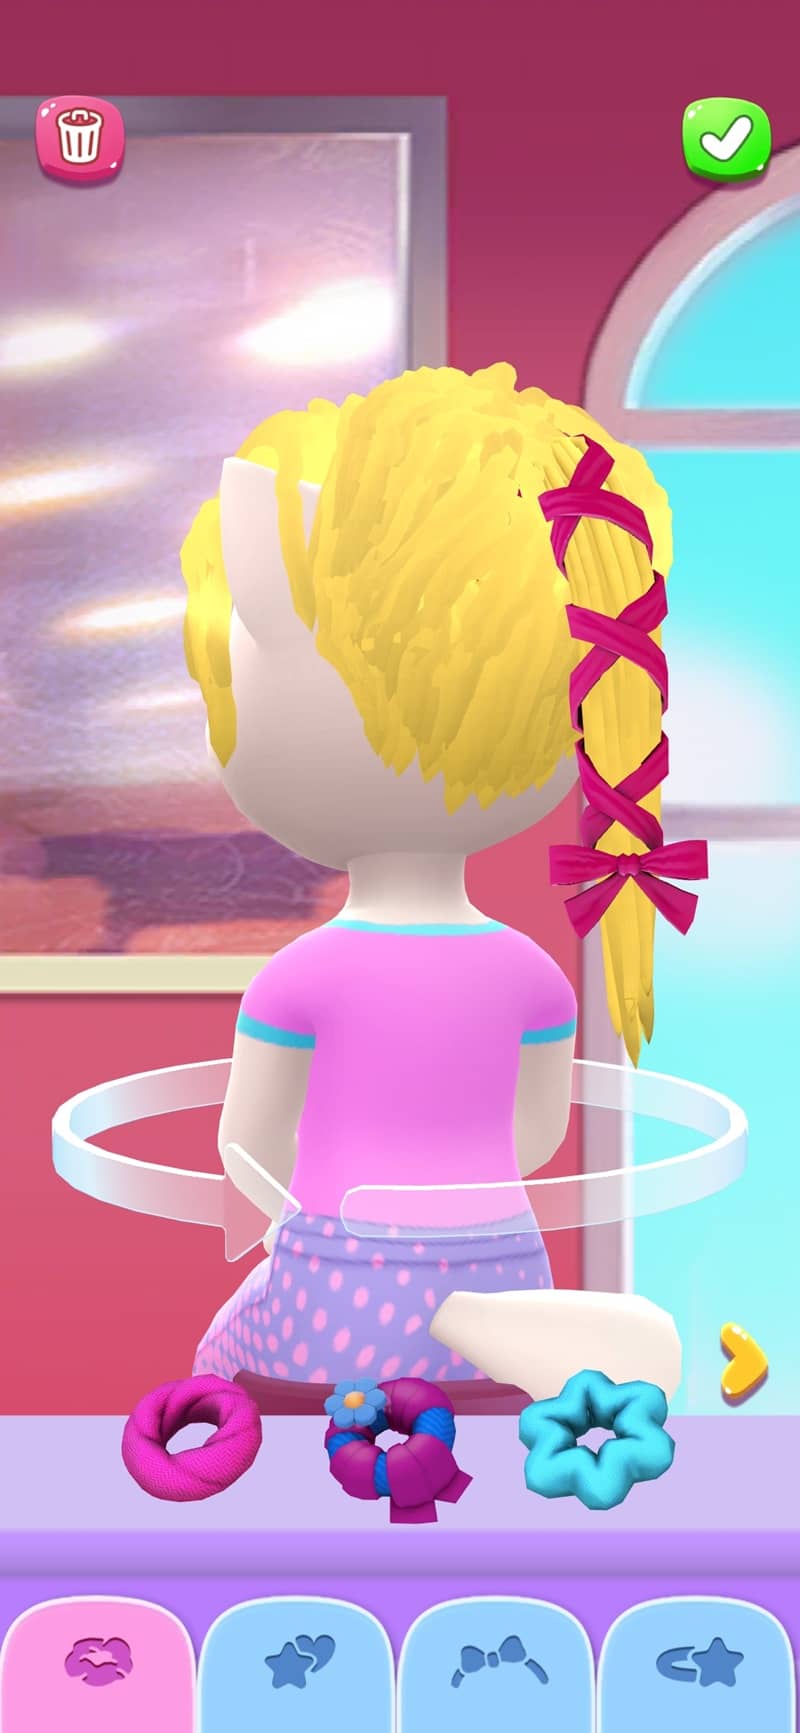
On the final shelf are the accessories. The accessories screen contains four tabs located at the bottom: Scrunchies and Buns, Beads, Headbands, and Clips. Above those tabs you’ll see the items within each category, swipe left and right, or use the arrows to scroll through the full selection.
A scrunchie will add a ponytail or bunch to Angela’s hair, and each scrunchie has a different style of ponytail/bunch. Some are plain, others are braided; others include extra ribbons. The choice of buns ranges from loose and messy to neat and formal. You can also add beads to individual strands of hair to give them a braided look. There are lots of colours and shapes to choose from to help with your own combinations and patterns.
Use a headband or some hair clips to keep Angela’s hair in place. These range from classic bands with bows, hearts, and flowers, or, if you want to get playful, choose a headband with bunny ears or ladybug wings!
8
Save Your Hairstyle and Show It Off!
Finished? Tap the check mark in the top-right corner and then the Save button. You’ll automatically be taken to Angela’s dressing table where your new look has been added to the styles you’ve created or unlocked. From there you can replace the hairstyle; delete it, or go back to the Salon and start again from scratch.
All the cool features in My Talking Angela 2 can be played with your unique hairstyle in place. And, of course, any time you decide that you’re unhappy with your creation you can tap the garbage-can in the top-left of the screen to remove it. But think carefully; once you press the Delete button, your style will be gone forever!
Ready to show off your salon skills? Share your Angela hairstyles on social media! Tag
Angela’s official pages and use #TalkingAngela to get a shoutout from Talking Angela herself!